With 1.01 billion daily active users on average as of September 2015, Facebook has become an essential place for businesses, brands, celebrities, musicians, public figures, NGOs, schools, and other institutions, interact with consumers and the broad audience of online users.
Anyone with a Facebook account can create a page in minutes. It's free and easy. However, creating a Facebook page and creating a great Facebook page are two very different things. Fortunately, you don't have to be a web designer, programmer, marketing expert or tech savvy to create a Facebook page.
To create your page follow the 5 steps below:
1. Choose a Category
To get started, navigate to https://www.facebook.com/pages/create. This page has 6 different categories to choose from:
- Local Business or Local
- Company, organization or institution
- brand or product
- Artist, band or public figure
- Entertainment
- cause or community
Each of these categories provides fields more relevant to your desired page.
In this article, we will select the second option: company, organization or institution. After selecting the desired category, you will be asked for an official name for your page. We recommend that you choose the name carefully. Although Facebook allows you to change your page name and URL once, it is a difficult and tedious process.
2. Enter Basic Information
Facebook should automatically guide you through the four basic sections to complete the essential fields on your page.
Complete the “About” Section
The “About” section will serve as the main description for your business. It will appear on your main page, so keep it descriptive but brief. Be sure to include a link to the company's website. Make sure this information differentiates your brand, making your page even more attractive to potential followers.
This is also where you can select your unique URL (which, as mentioned above, can only be changed once). For example, the Lamp Comunicação page has the URL facebook.com/lampcom.
Enter a Profile Photo
Next, you will need to upload an image. It will be used as the main image for your page, appearing in search results and next to any comments you post. While any square image will work, the recommended size is 180 x 180 pixels.
Add to Favorites
Every Facebook user has a vertical navigation bar to the left of their News Feed. You can add your page as a “bookmark” – similar to your browser's bookmarks – for easy access.
Preferred Audience for the Page
In this section you can choose your target audience, selecting the location, age, gender and interests of who you would like to reach with your page. If you know where your customers are and who they are, it would be interesting to define it at this stage, so that Facebook can direct the right people to your page.
3. Understand the Admin Panel
Your Facebook page is now online. Facebook will ask if you would like to “Like” your page. We recommend that you do not short at this time. This activity will appear in the News Feed of those you are connected to on Facebook, without any content on the page. This news should show up in the News Feed of your friends and followers when the page is actually ready.
In the links below your page name, next to “Timeline”, you will find the “About” link. Click and you will be taken to a page where you can edit the “Page Information”. Here you can add additional details about your business. This section will also present different fields based on the category you chose in the first step.
On the top navigation bar, you will see the “Settings” option. Click on it. Along the left side, a vertical navigation bar with different sections should appear. We will focus on two main ones for the moment:
- Notifications: This section allows you to customize when and how you would like to receive page alerts. Set up a frequency that fits your social media marketing schedule.
- Administrative functions: Whether or not you're going to be the main page admin, there may be other people in your organization who need access to your Facebook page. Here, you can invite other colleagues to make changes to your pages. Some common use cases include:
- A PR manager who needs to answer any sensitive questions.
- A support representative who can help those with technical questions.
- A designer in charge of uploading custom photos for the page.
4. Insert Content on the Page
Now it's time to actually publish content on your page and then invite users to like it. Let's start with the necessary basic content.
Posts
Your page will fill up over time as you post more updates. Facebook currently offers seven different posting options:
- Status with plain text
- Image with caption
- link with subtitle
- video with subtitle
- event page
- Event (Milestone)
- Note
When posting to your page, be sure to use a variety of content. What images would your audience like to see? What statuses would they like to read? What links would be helpful for them? You can also click the little gray arrow in the top right corner of each post, then click "Pin to Top" to move one of your posts to the top of your Page's Timeline for seven days. Use this feature for product announcements and other major events relevant to your brand.
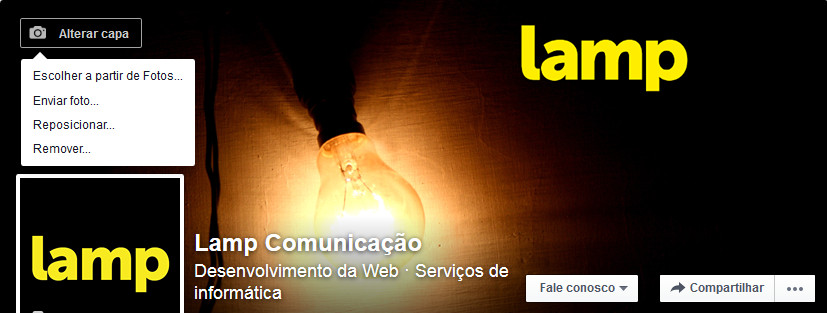
Cover photo
This is the large, horizontal image that runs across the top of your Facebook page. Usually this is an image to help attract people to your page. The official image dimensions are 851 x 315 pixels.
Now that there's content on the page, we can strategically start inviting users to Like. We recommend inviting users in the following order:
- First, invite your friends to Like your page and its content to create a starter activity.
- Second, invite supporters into your network. Encourage them to participate.
- Third, invite your customers. Now with some activity on the page, they will be more interested.
With published content and guest users, you can head to the “Insights” tab at the top of your navigation page to monitor how people are engaging with your page and content.
5. Measure Your Growth
Finally, we need to measure our efforts to ensure we're making valuable marketing decisions on Facebook. Fortunately, Facebook has incorporated some interesting metrics. Simply click on the “Info” option in the top navigation bar to see the following:
- Overview: This tab shows a 7-day snapshot of your metrics like Page Likes, Post Reach, and Engagement.
- Likes: This tab shows the Likes and Dislikes on your Page. If you're paying to promote your posts, you'll see paid likes and organic likes separately.
- Reach: This tab highlights the raw number of people your Page is reaching each day. If you notice points on a specific day, try to analyze what you posted that day to see if you can replicate that reach.
- Page Views: This tab indicates where your Facebook visitors are coming from. You can see the difference in visits from Timeline, your info tab, comments and more.
Ready! You now have a Facebook business page. Publish interesting content and accumulate a good amount of followers!